Blogs & News
- Category: Athletic, Flooring, Service & Support
- DATE: September 6, 2023
Step-by-Step Guide to Gym Floor Installation: From Preparation to Finishing
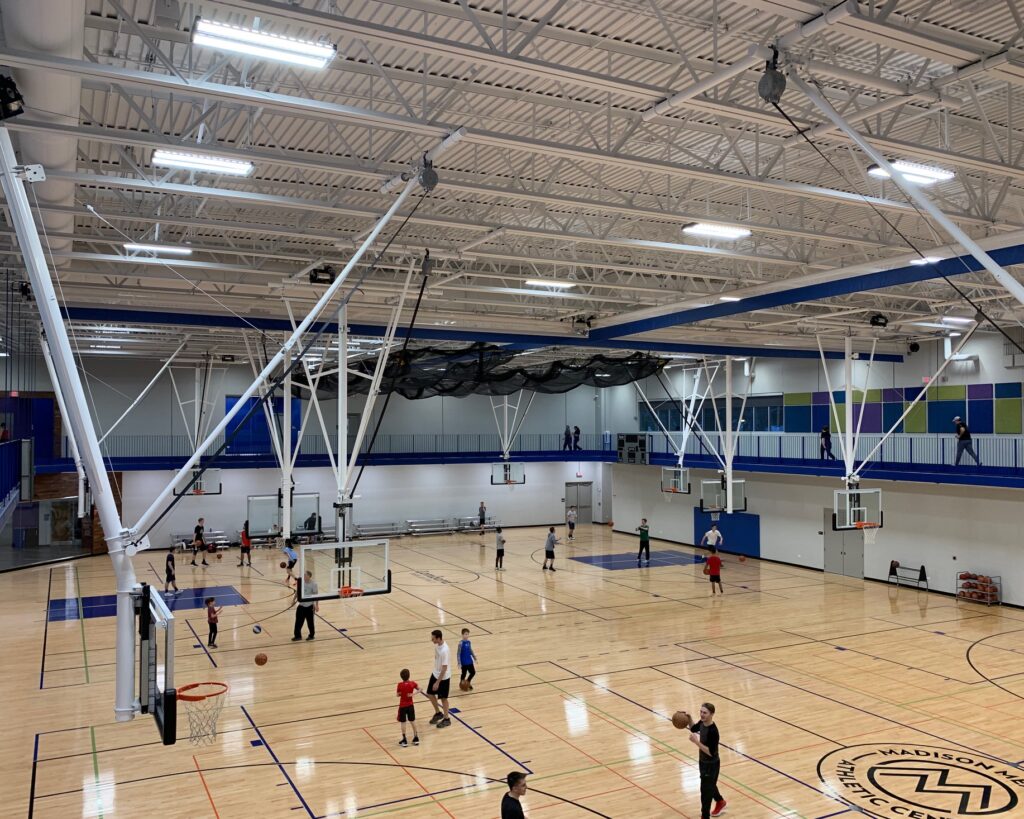
Welcome to H2I Group’s comprehensive guide to gym floor installation, where we will take you through each step of the process. Gym flooring is the bedrock that underpins every successful fitness space, from schools and universities to recreational centers, playing a crucial role in these dynamic spaces that inspire activity and growth. Depending on the intended use, different types of gym flooring materials are available, along with customization options such as graphics and logos. At H2I Group, we prioritize developing strong relationships with manufacturers to ensure you get the right flooring for your space, considering your budget, location, and specifications throughout the gym floor installation process.
Choosing the Right Gym Flooring
When selecting the appropriate gym flooring, it’s essential to consider your vision for the gymnasium and it’s users. For specific sports like basketball that require high shock absorption, wood flooring is the preferred choice. On the other hand, multi-purpose gyms benefit from synthetic flooring such as rubber, vinyl, or urethane, as it allows for a wide range of activities to take place. Many schools use gym spaces for a variety of different sports as well as a space for graduations, school activities, camps, after-school care, a cafeteria, a storm shelter, and more. H2I Group’s expertise in collaborating with manufacturers ensures that we can guide you toward the best flooring solution based on the unique requirements of your facility.
Preparing for Gym Floor Installation
Before installing the gym floor, thorough preparation is necessary to ensure a smooth and successful process. This involves assessing the space, checking the relative humidity and how it is controlled, measuring the area, and identifying any obstacles or irregularities that may need to be addressed. Checking the subfloor condition is crucial, as any necessary repairs should be carried out to create a solid level foundation for the new flooring. Additionally, allowing the flooring materials to acclimate to the environmental conditions of the space is essential to avoid potential issues later. Following the manufacturer’s recommendations for the acclimation period is necessary to protect your investment and have a high-performing floor.
Gym Floor Installation Process
Subfloor Preparation
To prepare the subfloor for installation, it is crucial to clean it thoroughly, level any areas, and remove any debris or dust. A smooth, level, and debris-free subfloor ensures proper adhesion of the new flooring. In some cases, depending on the space and requirements, applying moisture barriers might be necessary to prevent moisture-related issues that can compromise the integrity of the gym floor.
Floor Layout and Markings
Determining the layout of the gym floor is a critical step in the installation process. Factors such as space utilization and activity requirements come into play. At H2I Group, we work closely with you to understand your specific needs and preferences, ensuring that the layout is optimized for functionality and aesthetics. This includes game lines, graphics, and design elements as per your customization preferences.
Installation of Gym Flooring
Based on the type of flooring chosen, whether wood panels or synthetic flooring, our experienced installation team follows manufacturer guidelines meticulously. They employ the appropriate techniques and tools to secure the flooring in place, whether through adhesives, fasteners, or interlocking mechanisms. This ensures a sturdy and long-lasting gym floor that can withstand the demands of various activities.
Finishing Touches and Customization
Graphics & Logos
To add a personal touch and enhance the visual appeal of your gym floor, H2I Group offers customization options. Our skilled team can incorporate custom graphics, text, and logos, allowing you to showcase your school or organization’s brand identity. You have the freedom to select colors and design elements that align with your preferences, creating a truly unique and vibrant gym floor.
Sealing and Finishing Wood Floors
To enhance the durability and longevity of a wood gym floor, applying a protective sealant or finish is crucial. This provides an extra layer of protection against wear and tear, making maintenance easier in the long run. Following the manufacturer’s recommendations for maintenance and refinishing helps preserve the quality and appearance of the wood gym floor over time.
Conclusion:
We hope this top-level step-by-step guide has provided you with valuable insights into the gym floor installation process. Selecting the right flooring and considering customization options are essential aspects to create a functional and visually appealing space. At H2I Group, we are committed to delivering high-quality gym flooring solutions tailored to your specific needs. Contact us today to learn more about our services and how we can assist you in transforming your gym space into something extraordinary.
recent blogs


GET STARTED
LET’S TALK ABOUT YOUR PROJECT TODAY
Are you in need of expert guidance for your building project? H2I Group’s experienced professionals are here to assist you with any questions or concerns you may have. Contact us today to learn more about our services and how we can help you achieve your goals.

